Clips
Clips is a React site for storing and sharing interesting finds from the Internet paired with a macOS menubar app.

Background
I enjoy tinkering with new technologies, dabbling with design, and making things from ideation to launch. I have been working on Clips over the past few months using it as a tool to challenge myself to continue building products from beginning to end. Feel free to play with the hosted version on getclips.app or run your own instance/learn/build on top of it.
In this post I'd like to highlight the process for building Clips – ideating and implementing, with the smaller details in between. Of course, these projects are my way of just playing with technologies I don't usually get to work with so if you have suggestions or have ended up learning something, please shoot me a message!
Overview
- Idea
- Tools and Technologies
- Creating and managing clips
- Shareable links
- Commenting
- Notifications
- Emails and validations
- Theming, view counts, virtualized lists
- macOS menubar app
Idea
Clips is a macOS menubar app + site that enables anyone to "clip"/save random, interesting things they find on the internet and stores them on a simple grid, accessible through a personalized link.
While building the site portion of the project, I realized that it might be nice for people to add a clip regardless of what app they're using at the time. So, in addition to being able to clip items from the site, I built a simple mac menubar app to create clips that can be toggled using a keyboard shortcut.
Tools and technologies
Clips is a Next.js app deployed on Vercel. It's sitting on top of a MongoDB instance, uses swr for data fetching and caching, emotion for styling, and basic cookie authentication under the hood.
The menubar app is built using Electron, Typescript, styled-components, and JWTs for authentication. Feel free to fork and play with building your own menubar app with this setup.
Creating and managing clips
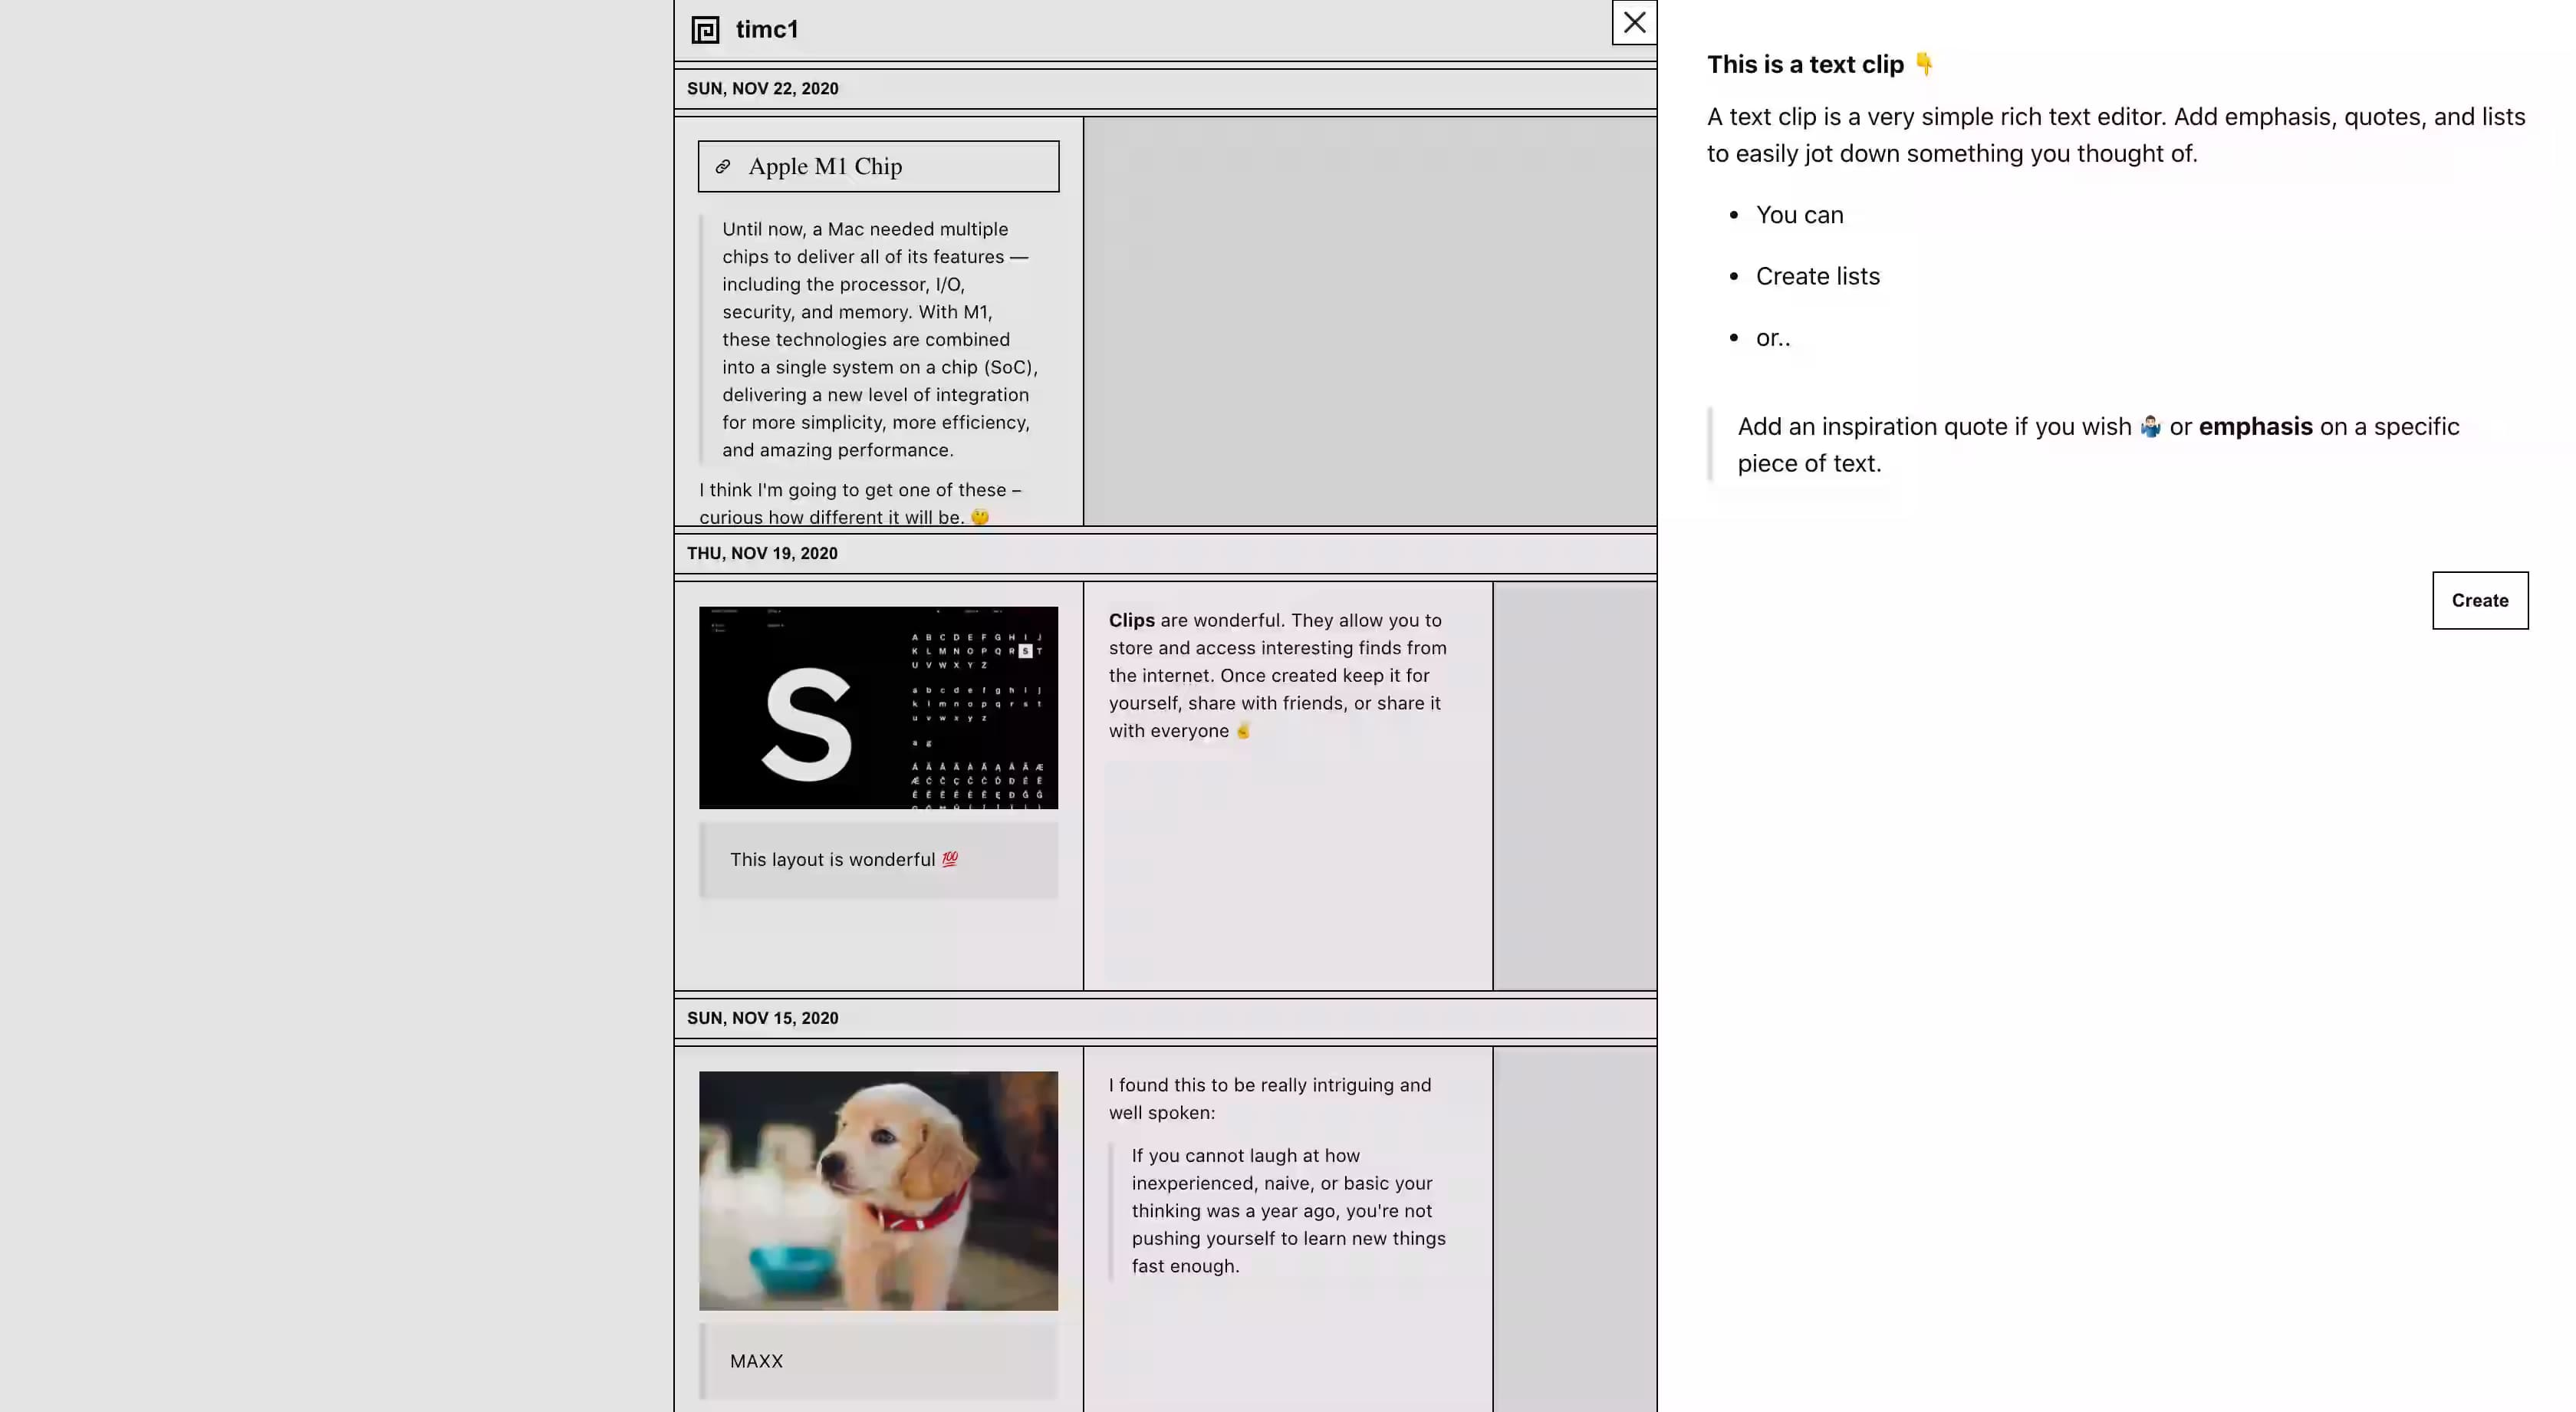
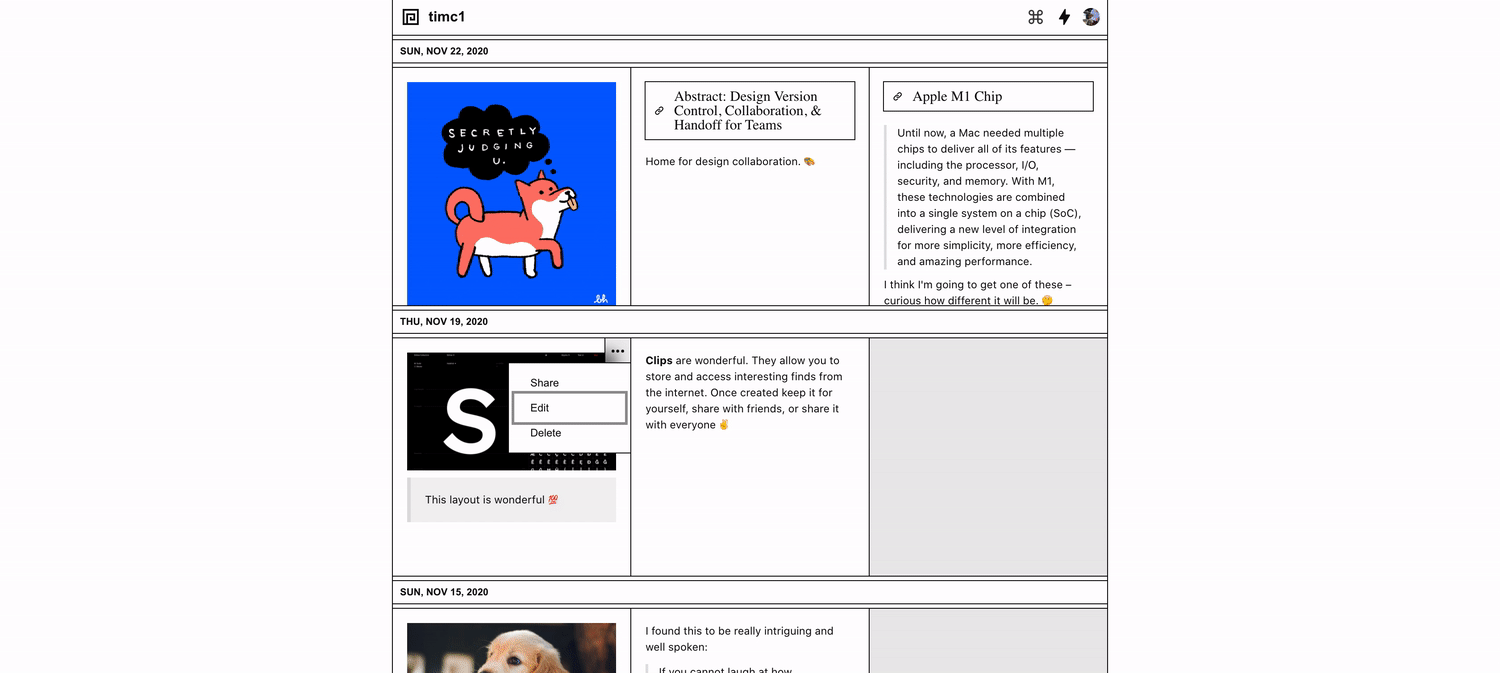
We can create three types of clips: text, links, and images.
Creating and managing clips
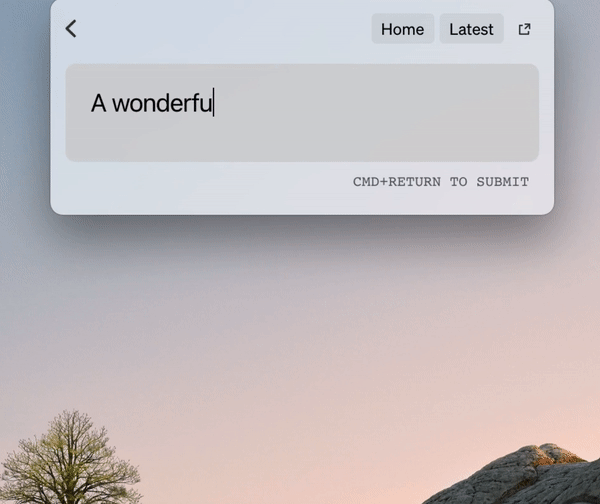
A text clip is a very simple rich text editor. Add emphasis, quotes and lists to easily jot down something that came to mind.
Link clips extends text clips by adding an unfurled link preview, useful for when you find a reference online that you'd like to visit in the future.
Display a list of images, along with an optional description to keep a record of a recent trip, or just some funny gifs. Images can be from the local filesystem or unfurled from a link.
Creating a clip is easy – click the ⌘ icon in the navigation or press ⌘+K to bring up the shortcut menu. In the future, the menu can serve as a portal for other features as well. Once a clip is created, it immediately gets added to the current date and all subsequent new clips will be appended to the current date as well.
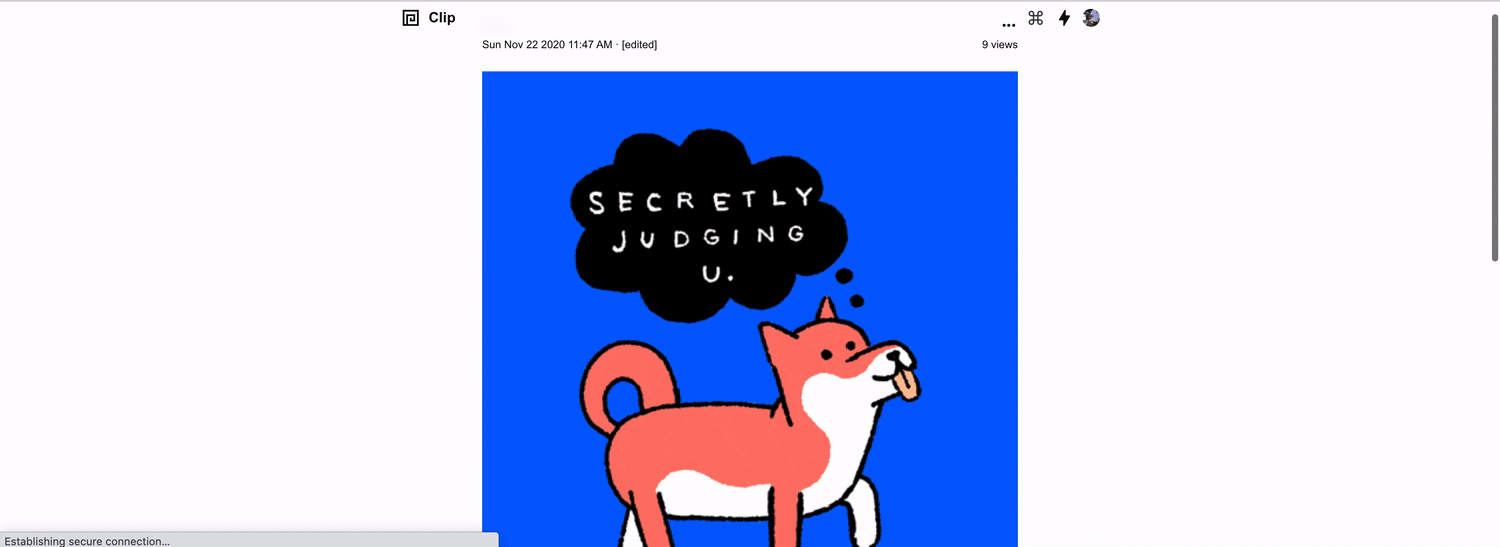
Clicking a clip will navigate to the clip's route; however, you will notice that we keep context of the screen you are currently on by rendering the page within a modal. This follows the Instagram-style loading of pages using Next.js's shallow routing. When refreshing the page at this stage, since there will be no more context, we will display the clip on it's own page.
Editing a clip is just as easy! Click the overflow menu and then Edit. Edited clips are denoted by the [edited] indicator.
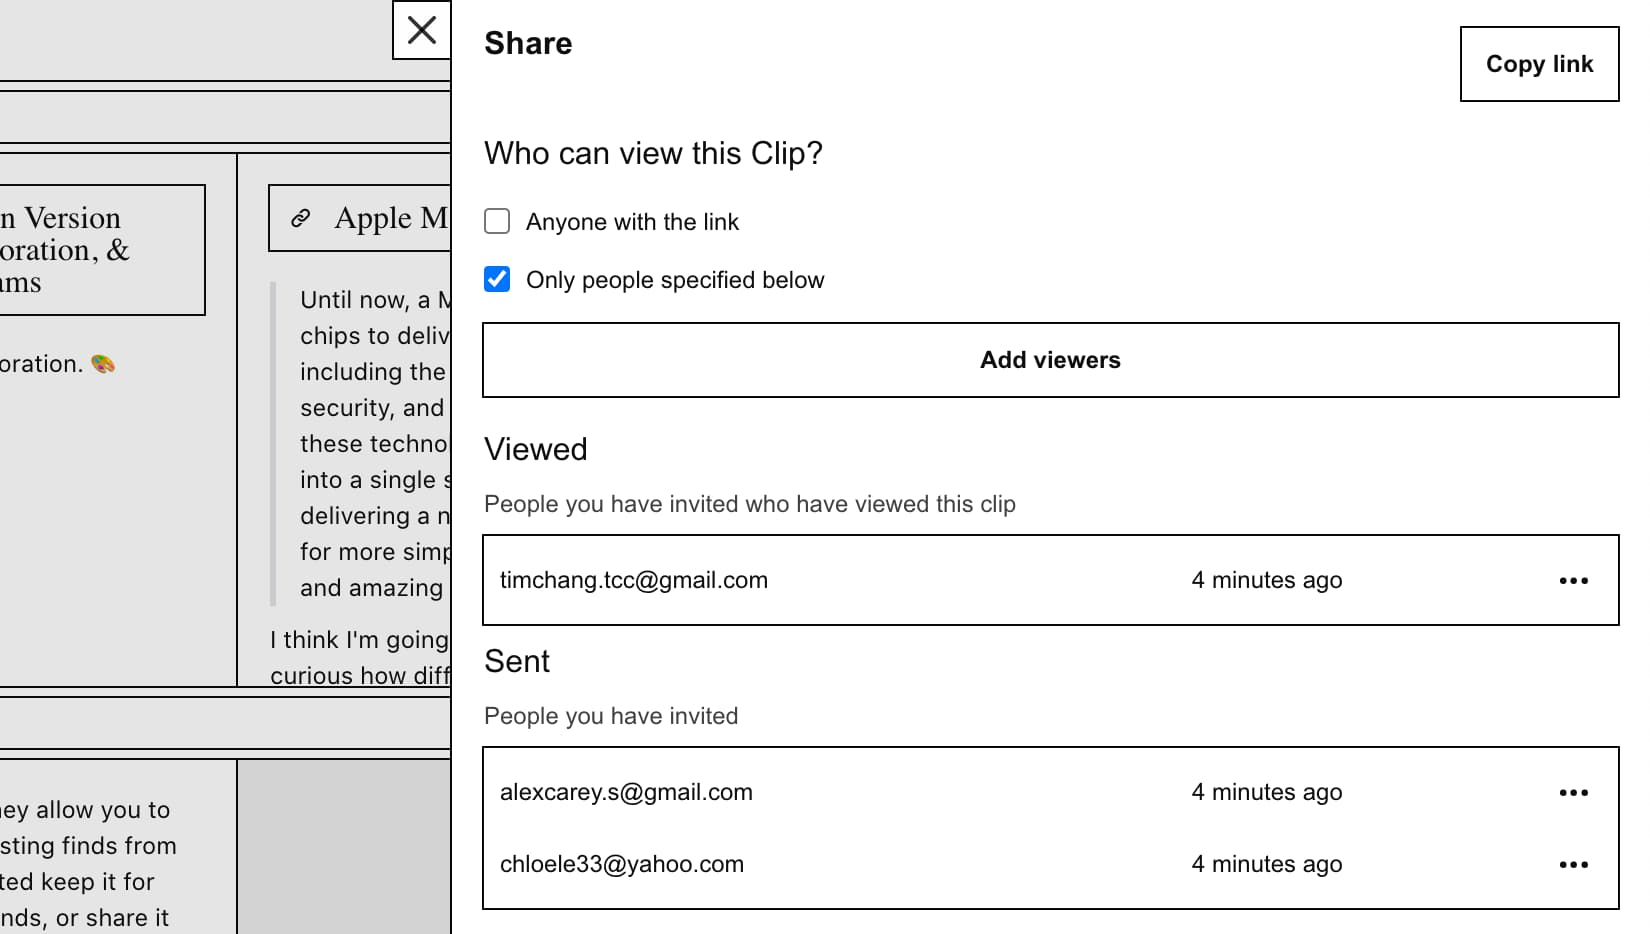
Cool! Now that we have a nice clip put together, we can share it with others. Each clip is by default only viewable by yourself.
Shareable links
If there is a single clip that you would like to share, opening up the share panel is the place to go. From here, there are a few things you can do – make the clip publicly available for anyone to view, only specific people that you invite (via email), or just keep things to yourself!
Commenting
Okay so you can also add comments to any clip – I have no idea why I called them Notes in the site but here we are 😆. Comments are editable and linkable – open the overflow menu for the edit and share options.
When sharing a comment, one neat thing is that the selected comment will scroll into view and get highlighted, keeping context.
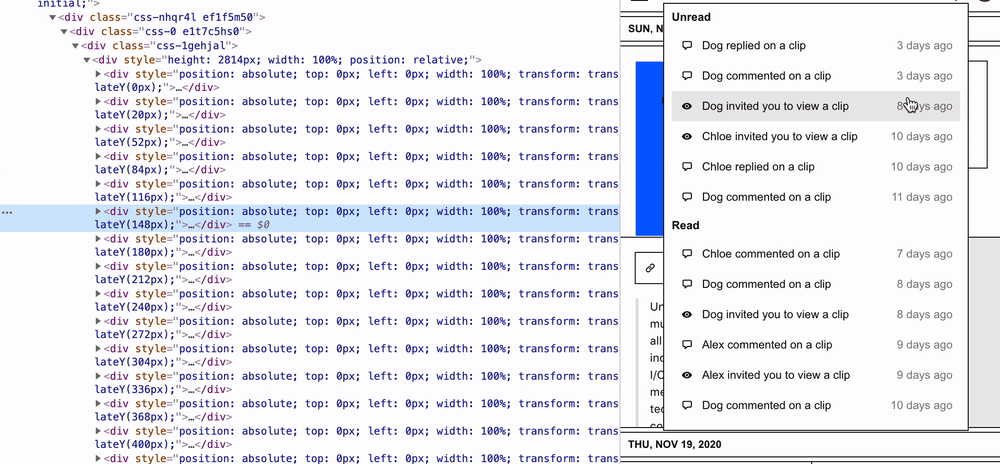
Notifications
In order to keep us up to date with what interactions are happening with our clips, I built a simple notification system – we get notified in-app when someone invites us to view a clip, comments on our own clips, and replies on clips that we are a part of. With swr, refetching and revalidating data was an easy option to ensure notifications, and effectively the entire state of the site, is up to date.
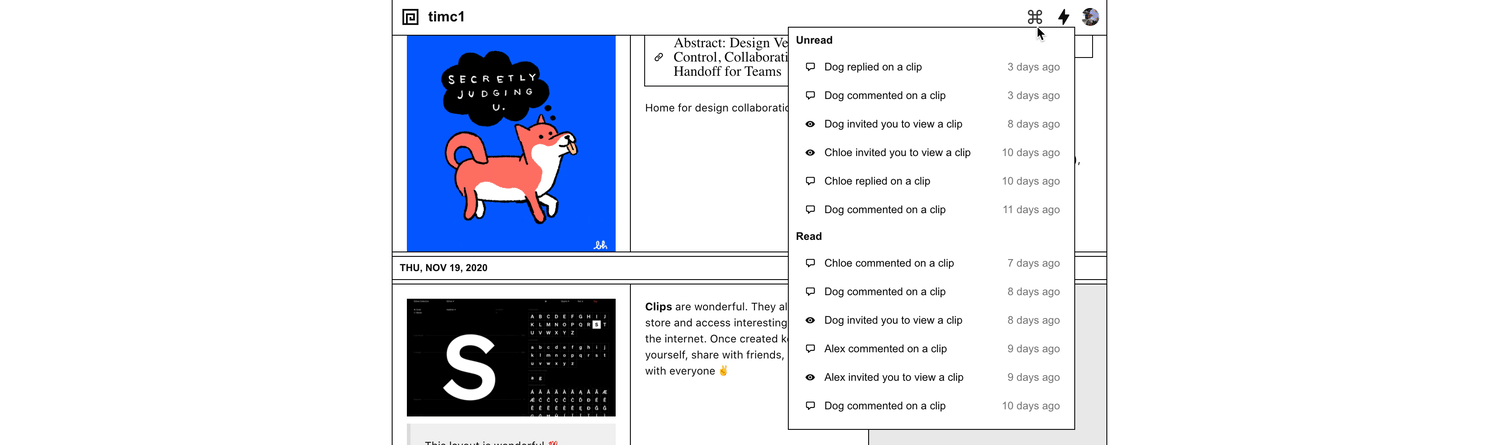
Additionally, emails are sent out for invitations as there would be users that don't have an account.
Emails and validation
Emails and validations was a fun one to work on. We currently send an email out for actions like login using an email link, reset password, and inviting other people to view a clip. A very simple flow for an invitation would go something like:
- A user creates a clip and adds me@timcchang.com
- A clip invitation would be created on the server under the email with a unique token
- An email would get sent with a url like https://getclips.app/invitations/clip?email=me@timcchang.com&clipId=12345678&token=987654321
- This link would navigate to a basic Next route, /invitations/:type, where the client would then parse and make a request to ensure that the params match what is on the server. The database would then be updated with the relevant invitation.
- Once the request is successful, we can redirect the user to the intended clip route and all should be good.
Alright let's talk about some other small, fun things.
Theming, view counts, virtualized lists
As with any project, a light and dark theme is always a nice touch. With clips, I went with a simple system, light, and dark option using a barebones theme provider.

View counts are as simple as it gets in the project where we just ping a /api/views endpoint to append and return the view count for a clip. We can further dedupe view counts by IP, but the simplest approach is to just ensure `swr` does not refetch views for a really long time (24 hours) right now and simply returns the cached value for subsequent visits to the clip page.
The notifications list is also virtualized! I ran into a small delay when rendering a huge list while testing, and this was the perfect opportunity to use react-virtual. There's a beauty in what virtual lists do to the DOM – I've spent a good chunk of time just watching the nodes appear in and out haha.
macOS menubar app
So while building the site, I realized that it would be really nice to be able to create clips anywhere when on your computer. First thing that came to mind was building a simple browser extension; however, I've always been interested in building a little menubar app, so with Electron and a simple React app connected to our Next.js functions, we can build something like this.
I'm currently doing a bit of cleanup and will publish the repo soon, so stay tuned!
This site is hosted on getclips.app and the repository can be found on Github here.
I think that's it for now! If you're interested in some more learning, got questions, or want to share something cool you are working on please feel free to send me an email or a DM. This project was quite a lot of work – I'm going to take a little break before getting onto the next. I think, something smaller in scope. :-)